How to Insert Pictures
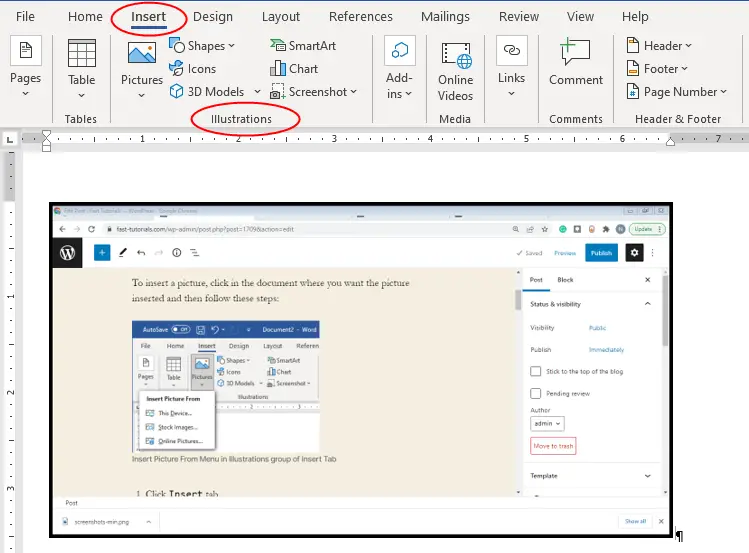
To insert a picture, click in the document where you want the picture inserted and then follow these steps:
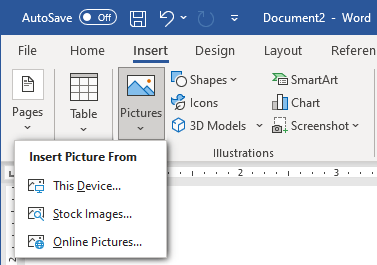
- Click
Inserttab. - Under the
Illustrationsgroup, click thePicturescommand.
You will be shown three options which are:
This Device
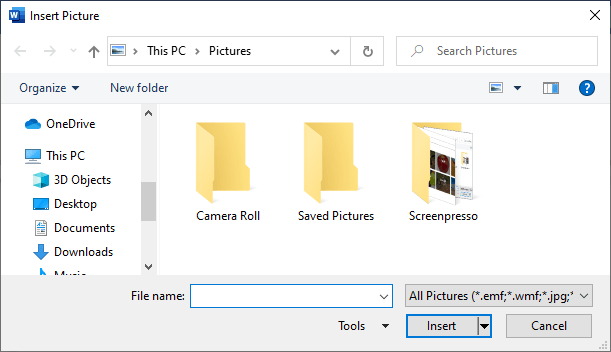
If the picture you want to insert in the document is already in your computer, select the This Device option. When you do this, a new window opens for you to select the image and then insert it into the document.
Stock Images
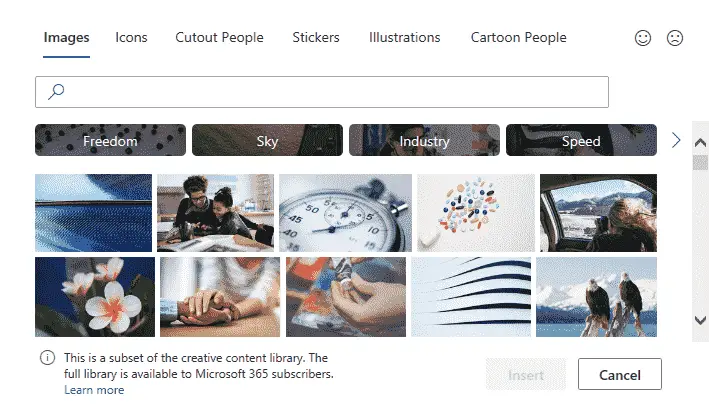
Select Stock Images option to insert royalty-free (and copyright-free) images, icons, cutout people, stickers, illustrations, and cartoon people in the document.
Online Pictures
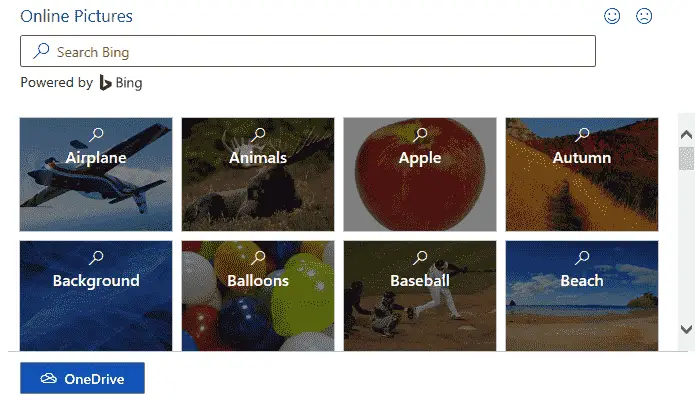
Select the Online Pictures option, if you want to insert the picture from your OneDrive or find the picture by writing the suitable keywords in the Search Bing box.
How to take Screenshots
Using the Screenshot command, you can take a picture of a window or capture a part of the window and immediately insert it into your Word document. To take a screenshot, follow these steps:
- Click in the document where you want to insert the screenshot.
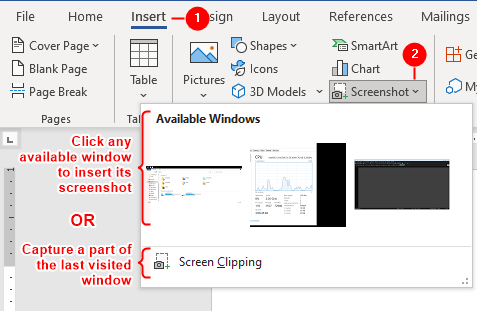
- On the
Inserttab, in theIllustrationsgroup, click theScreenshotbutton. - The
Screenshotmenu shows the available windows. - Click any window thumbnail to insert a picture of that window into the document.
- The screenshot will be captured and inserted into the document.
Screen Clipping
Select the Screen Clipping option if you want to capture a part of the previously visited window.
- Activate the window that’s part you want to capture.
- Return back to your Word document.
- Click in the document where you want to insert the screen clipping.
- On the
Inserttab, in theIllustrationsgroup, click theScreenshotbutton. - Click
Screen Clippingcommand from the menu. (See above figure) - The previously visited window will be displayed.
- Drag across the part of the window you want to capture.
- The screenshot will be captured and inserted into the document.
Taking Screenshot of Desktop
- Minimize all opened windows.
- Click anywhere on the desktop.
- Maximize the Microsoft Word window.
- Follow steps 3 – 8 described in above section, Screen Clipping.
