To remove background from a picture, follow these steps:
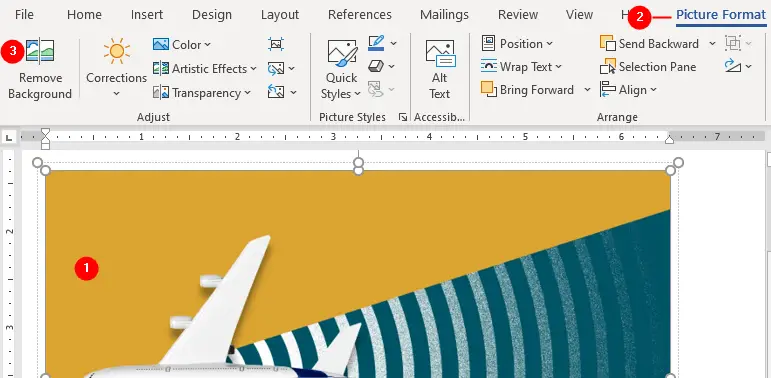
- Select the image by clicking on it.
- Click on the
Picture Formattab which becomes available anytime you click on a picture. - Click on the
Remove Backgroundcommand located on the left side of the ribbon. - The
Background Removaltab appears on the Ribbon. - Microsoft Word automatically attempts to detect the background and applies purple shading to those areas of the image that it perceives as background.
- Use
Mark Areas to KeepandMark Areas to Removebuttons on theBackground Removaltab to refine the areas of the picture’s background (watch the above video example).
The Background Removal tab contains the following commands:
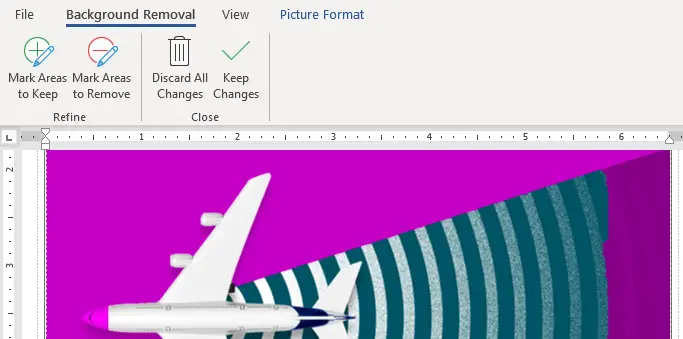
Mark Areas to Keep
Click this command and then click any areas of the picture that are purple shaded, that you’d like to keep.Mark Areas to Remove
Click this command and then click any areas of the photo that aren’t shaded, that you’d like to remove.Discard All Changes
Click this button to cancel the changes. At any time, you can use this command to restore the image’s background to its original state.Keep Changes
Click this button to apply the changes. It will display the image without the background, it removes everything in that purple shaded area.
