- Table of Contents Requirements
- Create Table of Contents
- Update Table of Contents
- Remove Table of Contents
- Customtomize Table of Contents
- Table of Contents Options
- Create a TOC using any styles
- Modify Table of Contents Styles
- The TOC Field
TOC Requirements:
- Use heading styles:
Word uses heading styles to create a Table of Contents, which reflects the heading names and their page numbers. It is recommended to useHeading 1for main headings,Heading 2for subheadings, andHeading 3for lower-level headings in your documents. (See Appy, Create, and Modify Styles). - Or, use outline levels
Word’s default normal template assigns each heading style a level, for example, it assignsLevel 1toHeading 1style,Level 2toHeading 2style, and so on. If you are using your own heading styles then you must specify the proper outline levels to these headings to create a table of contents.. ( See Outline View to Control Levels).
Create table of contents
If you used the heading style (or set outline levels properly on custom headings) you won’t have a problem in creating a table of content. The Navigation pane displays these headings when you’re working in the document. Follow these steps to create a table of contents:
- Insert a blank page
The best place to insert a TOC is the page next to the title page of the document. - Click at the top of the blank page or where you want to insert the TOC.
- Click the
Referencestab. - In the
Table of Contentsgroup, click theTable of Contentsdrop-down. - The built-in TOC styles appear, choose a TOC style to create table of contents:
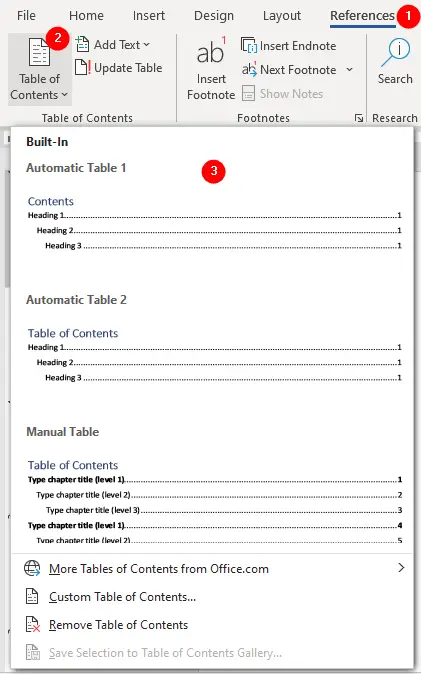
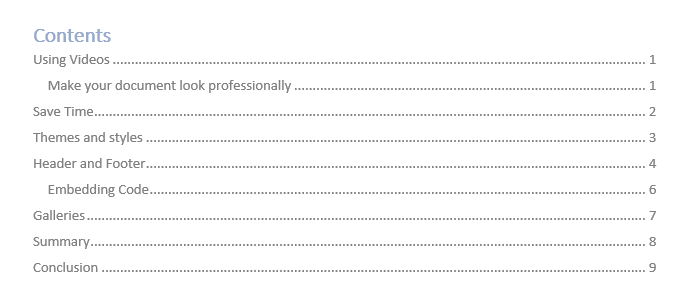
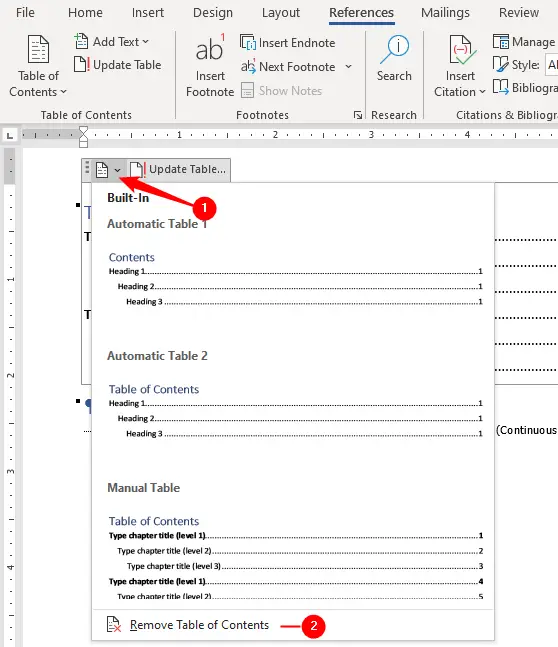
Following is the brief description of three built-in TOC tables as shown in the above figure:
- Automatic Table 1
Inserts the titleContentsas heading for the a table of contents. - Automatic Table 2
Inserts the titleTable of Contentsas heading for the a table of contents. - Manual Table
Inserts the titleTable of Contentsand editable table of contents which you can edit and replace with your text and numbers.
Update table of contents
The Table of Contents is a field (see, the TOC field) and it is not automatically updated when you make changes in the document. You need to update the Table of Contents when:
- a heading’s text has changed.
- you added or removed anything from the document that caused the change in the document’s page numbering.
Follow one of the below steps to open the Update Table Of Contents dialog box:
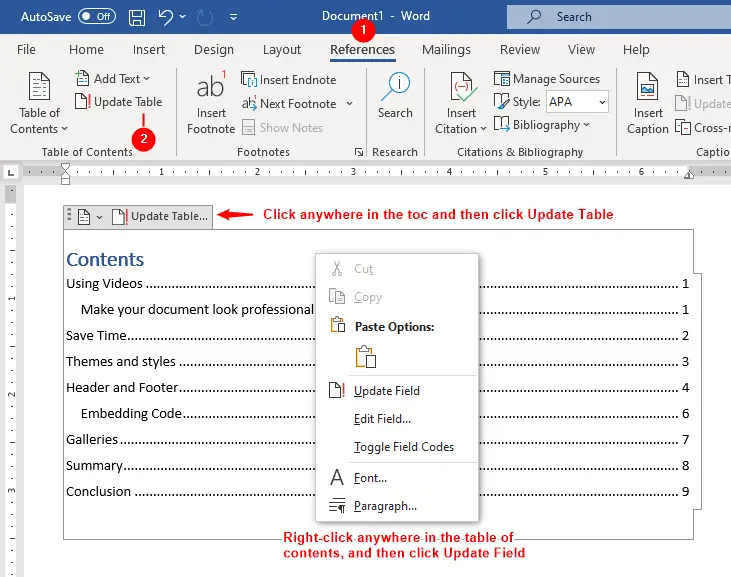
- Click the
Referencestab, in theTable of Contentsgroup, click theUpdate Tablebutton. - Click anywhere in the table of contents, and then click the
Update Tablebutton which appears above the toc table. - Right-click on the table of contents, and then click
Update Fieldfrom the shortcut menu.
The Update Table of Contents dialog box gives you two choices:
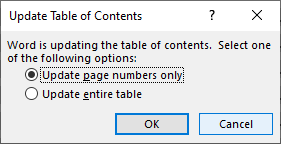
- .
Update page numbers only
Choose this option if you want to update the page numbers but not the headings. Update entire table
Choose this option if you want to update both the headings and page numbers.
Choose any option and then click OK to update the TOC.
Remove Table of Contents
To delete a table of contents:
- Click in the table of contents
- Click
Referencestab. - Click
Remove Table of Contentsin the Table of Contents group.
Or,
- Click anywhere in the table of contents
- Click the drop-down button that appears above the table.
- Click
Remove Table of Contentsfrom the menu.
Custom Table of Contents
You can customize the Table of Contents if the pre-defined TOCs in the gallery do not meet your needs. The Custom Table of Contents command displays a dialog box where you can customize the appearance of the Table of Contents for the current document. To display the Table of Contents dialog box:
- Click the
Referencestab. - In the
Table of Contentsgroup, click theTable of Contentsdrop-down. - Then click
Custom Table of Contentsas shown in the following figure:
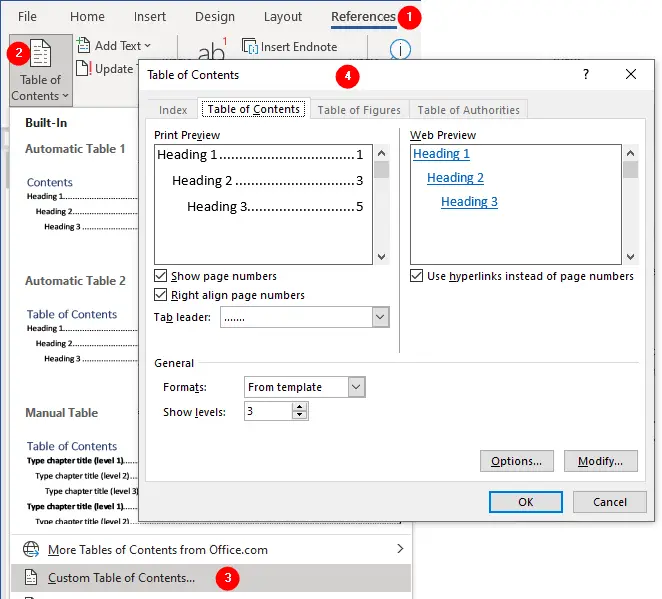
The preview boxes show the TOC appearance, the print preview box shows page numbers while the web preview shows only links.
Using this dialog box, you can use the following options to customize the appearance of your TOC:
- Show page numbers:
Uncheck this option if you want to hide page numbers in the TOC. - Right align page numbers:
This option uses Right tab stop to makes the page numbers appear aligned to the right page border in the TOC. - Tab leader:
Choose a different style from the drop-down to fill the space between text and page number in the TOC. - Use hyperlinks instead of page numbers:
Word will remove pages number when you save/export the document in HTML format. - Formats:
This drop-down offers Classic, Distinctive, Fancy, Modern, Formal, and Simple format to customize the style of TOC. - Show levels:
By default, a TOC shows the headings to level 3 (Heading 1,Heading 2, andHeading 3). To show more or less levels in the TOC, use the numbers 1 to 9. For example, if you want to display the main headings (Heading 1) only in the TOC choose 1. - Options:
Shows the Table of Contents Options dialog box. - Modify:
See, Modify TOC Styles.
Table of Contents Options

The Table of Contents Options dialog box enables you to build a TOC from:
- Styles
By default, this optin is checked. Headings 1, 2, and 3 are assigned to TOC levels 1, 2, and 3. You can assign Heading 4 to level 4 (Heading 5 to level 5 and so on) if your document requires that level.
Scroll down this area to see other styles that you used in the document. You also can use other styles to create a TOC, for example, if you usedTitleandSubtitlestyles in the document, you can assignTitleto level 1 andSubtitleto level 2 (see, Create a TOC with other Word styles). - Outline levels
By default, this optin is checked. Word also use the Level 1, 2 and 3 for creating the TOC if you’ve properly set the levels in the document (See, Outline View to set text levels). - Table entry fields
Check this box if you’ve inserted TC fields in the document and want to insert these fields in the TOC.
Note: You can insert aTCfield by pressing theCtrl+Alt+Okeyboard buttons (See, Using Fields in Word).
Create a TOC using any styles
By default, Word uses Styles and Outline levels to create a TOC. In this tutorial, you’ll learn how to use other styles for creating a TOC other than the Heading styles. Watch the following video:
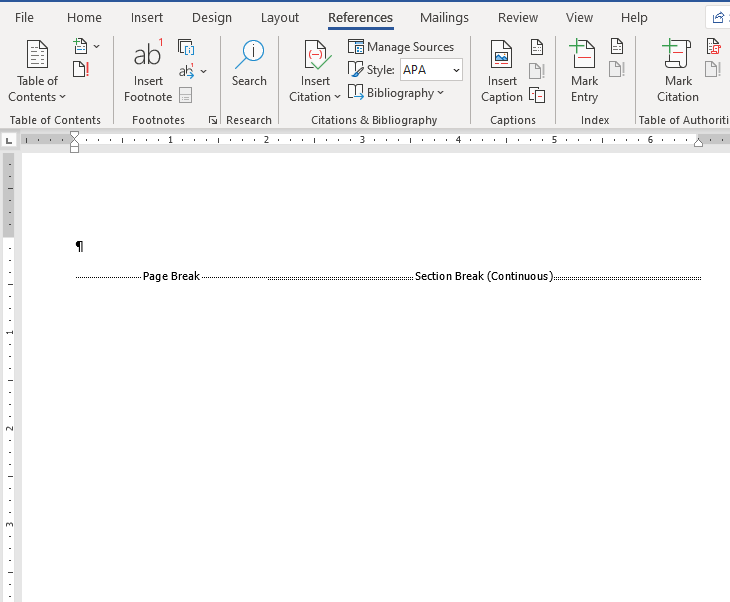
Table of Contents Styles
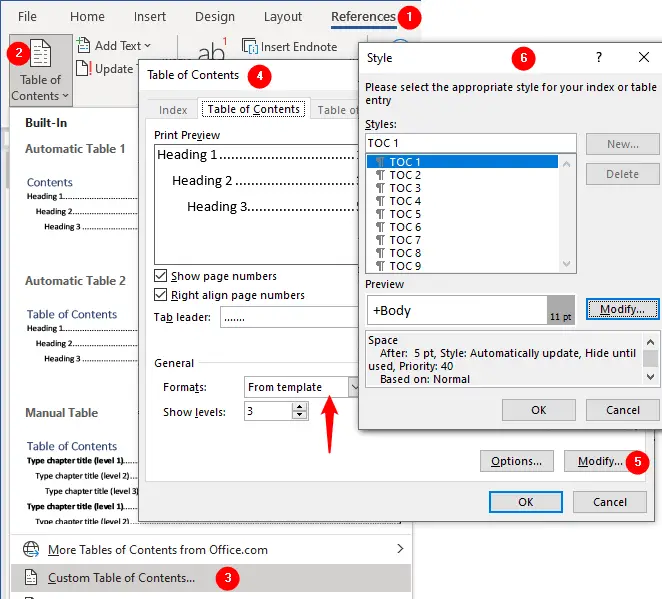
To modify styles used in a Table of Contents:
- Click
Referencestab. - In the Table of Contents group, click
Table of Contentsdrop-down. - Choose
Custom Table of Contents. - In the Table of Contents dialog box, make sure that you’ve selected
From Templatein the Formats drop-down. - Click Modify button.
- The Style dialog box appears.
In the Style dialog box, you can add a new style, delete or modify existing styles used in the table of contents. When you click Modify button in the Style dialog box, the Modify Style dialog box appears, in which you can make formatting changes to the selected style. (See, Create, apply or modify styles in Word).
The TOC Field
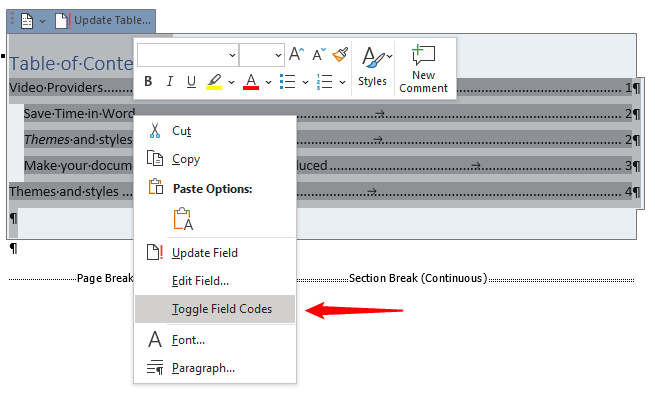
When you insert a Table of Contents, Word creates that table using the TOC field code. To see the field code, right click on the Table of Contnets table and click Toggle Field Codes option from the shortcut menu:
By default, Word uses the {TOC \o "1-3" \h \z \u} field code to create an automatic table. To understand what each of the switches means:
- Click the
Inserttab. - In the
Textgroup, clickQuick Partsdrop-down and chooseField. - The Field dialog box displayed.
- Under Field names, scroll down and click
TOC. - Click
Field Codesbutton. - The
TOCcode will displayed in the Field Codes box - Click the
Optionsbutton to see a list of TOC switches.
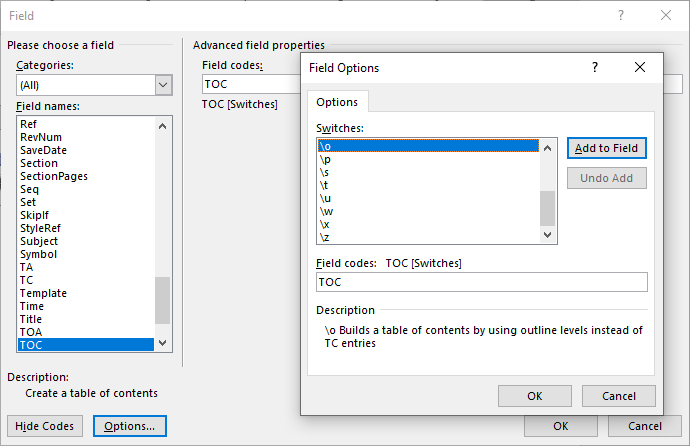
Click each of the switches to see its description, for more information visit, Working with Fields in Word.
