AutoFit to automatically resize columns
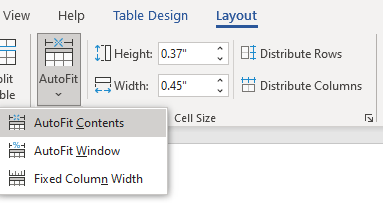
The AutoFit settings enable you to size the table and its columns automatically. To apply AutoFit settings, click anywhere in the table, and then on the Layout contextual tab, in the Cell Size group, click AutoFit drop-down menu. The AutoFit menu has three options:
- AutoFit Contents
Choose this option to fit all columns in a table to their contents. The table and columns automatically adjust their size (width) when you add or remove data from the table. - AutoFit Window
Choose this option to create a full width table that is divided into columns of equal width. If you add large data to a column, that column will automatically resize, making the other columns correspondingly narrower. - Fixed Column Width
This option makes the column widths fixed unless you explicitly change them by dragging the mouse, or by using the Table Properties dialog box etc.
Distribute Rows
If rows are of different heights, follow these steps to distribute the height of the rows equally between them:
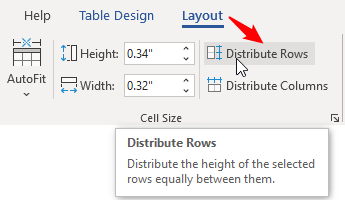
- Select rows (or click anywhere in the table for all rows).
- Click
Layoutcontextual tab. - Click
Distribute Rowsin theCell Sizegroup.
Or right-click on the selected rows, and then click Distribute Rows Evenly.
Distribute Columns
To distribute the width of the columns equally between them:
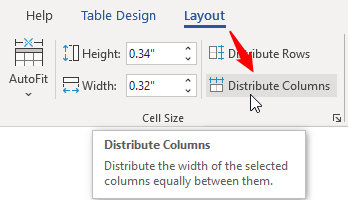
- Select columns (or click anywhere in the table to distribute all columns).
- Click
Layoutcontextual tab. - Click
Distribute Columnsin theCell Sizegroup.
Or right-click on the selected columns, and then click Distribute Columns Evenly.
Resize a table
To change the size of a selected table, use one of the following tricks:
1. Drag the size handle in the lower-right corner of the table
Move the mouse pointer to the lower-right corner of the table, the mouse pointer changes to a diagonal double arrow, drag it to resize the table:
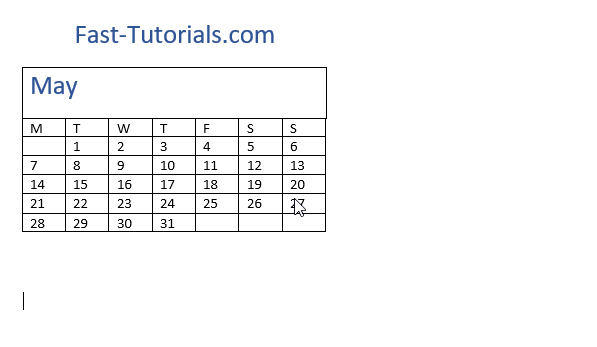
Note: Press and hold down the keyboard Shift button while dragging the size handle to maintain the original aspect ratio of the table.
2. On the Table tab of the Table Properties dialog box, specify the table width
You can also use the Table tab in the Table Properties dialog box to change the size of the table.

Check the Specify width box and enter the desired size in the text box. Using Measure in drop-down, you can specify the table width in inches or percentage of the available page width, click OK to apply changes.
Resize a row
Usually, you don’t need to change the height of a row because a row’s height changes automatically when you change the font size for the text in a cell or in the entire row.
To change the height of the current row, use one of the following techniques:
1. Drag the row’s bottom border up or down
To manually change the height of a row, move the mouse pointer to the row’s bottom border (or bottom gridline), the mouse pointer changes to a resizing pointer, drag it to resize the row height.
2. Resize Rows using Row tab in the Table Properties
You can also use the Row tab in the Table Properties dialog box to change the height of the selected row.
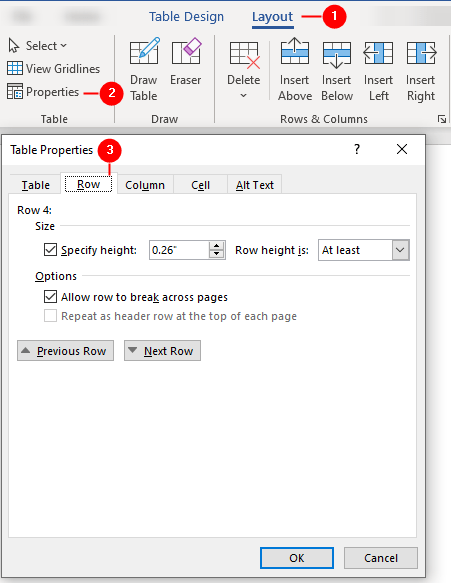
Check the Specify height box and enter the desired size in the text box.
Change the Row height is setting from At least to Exactly if you want the exact specified size. The At least option enables the row height to increase when the height of cell content exceeds that measurement.
Use the Previous Row and Next Row buttons to resize the other rows, and click OK when finished.
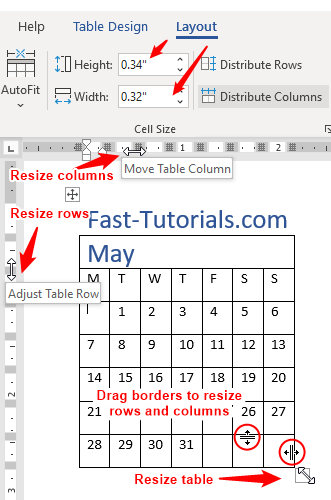
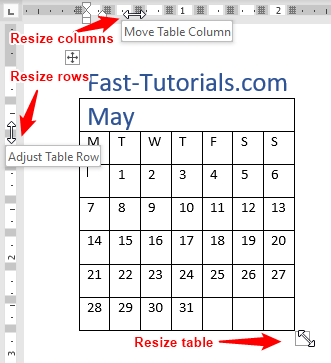
3. Drag the row’s Adjust Table Row marker on the vertical ruler up or down. Activate any cell on the table to display its dividers on the ruler, see the following figure:
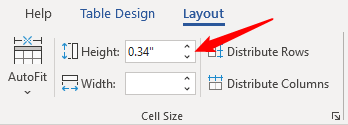
4. On the Layout contextual tab, in the Cell Size group, change the Height setting. See figure:
Resize a column
To change the width of the current column, use one of the following techniques:
1. Drag the column’s right gridline to the left or right
Move the mouse pointer to the column’s right border (or right gridline), the mouse pointer changes to a resizing pointer, drag it to resize the column width (or double-click to automatically fit the column width to its contents).

2. On the Column tab of the Table Properties dialog box, specify the column width
You can also use the Column tab in the Table Properties dialog box to change the size of the selected column.
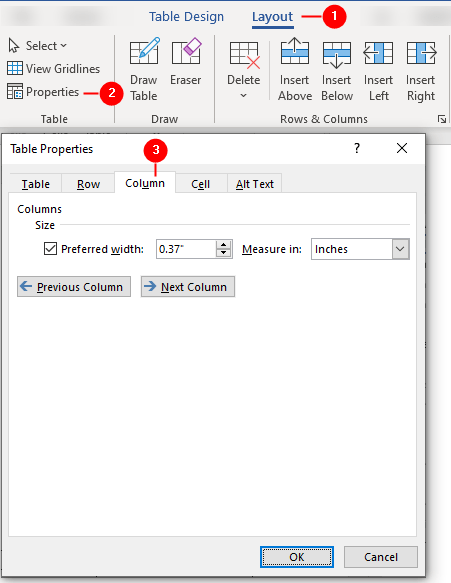
Check the Preferred width box and enter the desired width, use the Previous Column and Next Column buttons to set the width for other columns, and click OK when finished.
3. Double-click the column’s right gridline to automatically fit the column width to its contents.
4. Drag the column’s Move Table Column marker on the horizontal ruler to the left or right. Activate a cell on the table to display its dividers and indent markers on the ruler, see figure:
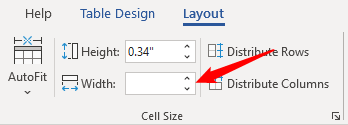
5. On the Layout contextual tab, in the Cell Size group, change the width setting. See figure:
More “Working with Word Tables” Tutorials
- Insert Tables
- Insert and Delete Rows, Columns and Cells
- Wrap text around the table
- Table Borders and Shading
- Select Table, View Gridlines, Use Table Properties
- Resize tables, rows, columns, and cells
- Repeat heading rows on next pages
- Break, Split & Merge Cells, Rows, and Tables
- Set Table & Cell Alignment and Change Text Direction
- Use Formula in Tables and Paragraphs
