Select Cell, Column, Row, and Table
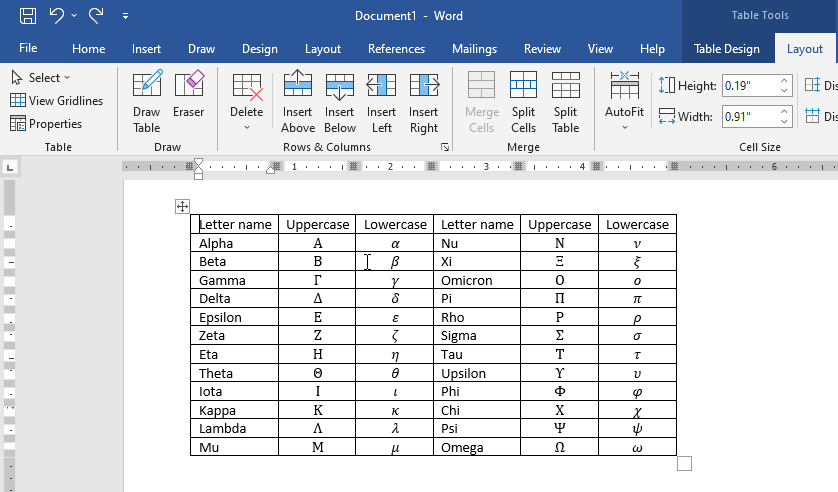
- Select a cell
- To select a cell, triple-click the cell or move mouse pointer to the left of the cell and click when cursor changes to a black arrow (pointing up-right).
To select multiple cells, select the first cell, hold down the mouse button, and drag the mouse pointer to select more cells. - Click a cell in the column, and on the
Table Tools > Layouttab, in theTablegroup, click theSelectbutton, and then clickSelect Cell.
- Select a column
- Move mouse pointer to the top of column and click when cursor changes to a black downward arrow.
- Click a cell in the column, and on the
Table Tools > Layouttab, in theTablegroup, click theSelectbutton, and then clickSelect Column.
- Select a row
- Move mouse pointer to the left of the row and click when cursor changes to right arrow.
- Click a cell in the column, and on the
Table Tools > Layouttab, in theTablegroup, click theSelectbutton, and then clickSelect Row.
- Select Table
- Move mouse pointer to the top-left corner of the table and click table selection icon when cursor changes to four-arrows.
- Click a cell in the column, and on the
Table Tools > Layouttab, in theTablegroup, click theSelectbutton, and then clickSelect Table.
View Table Gridlines
It is difficult to see the individual cells in a table if it has no borders. To solve this problem you can display gridlines, which show cell outlines on the screen:
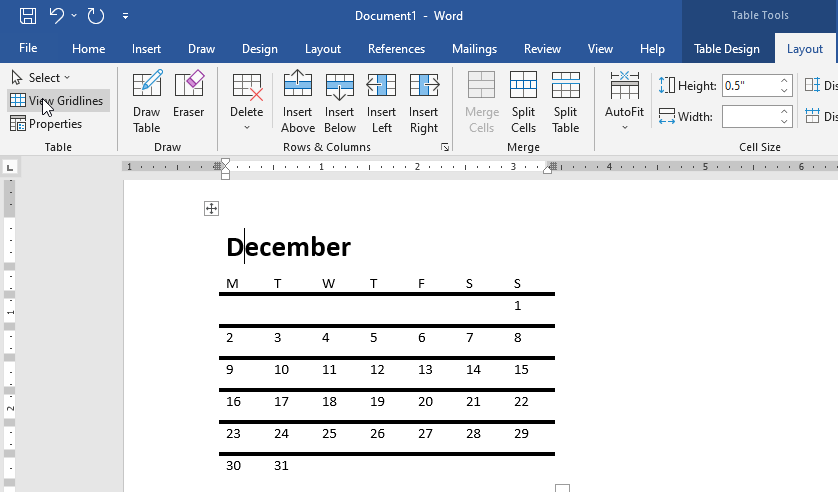
- Click a cell in the table.
- Click
Table Tools > Layouttab on the Ribbon. - Click the
View Gridlinesbutton inTablegroup.
Table Properties
You can use the Table Properties to set more precise table settings, for example, alignment, indentation, positioning, etc. To open Table Properties dialog box:
- Click a cell in the table
- Click
Table Tools > Layouttab. - Click
Porpertiesin theTablegroup.
Or, just right-click on the table and chooseTable Properties.
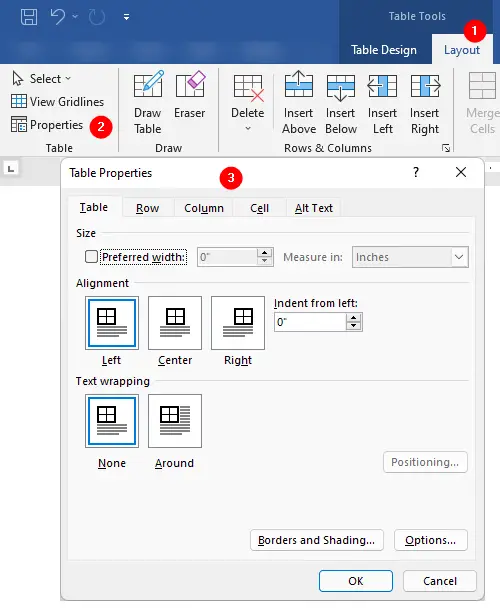
The Table Properties dialog box contains the following tabs:
- Table
On the Table tab, you can specify the alignment and width of the table, and specify the text wrapping option (the way table interacts with the surrounding text). You can also access border and shading options, including cell spacing and margin options. - Row
On the Row tab, you can specify the height of the selected rows, allow rows to break across pages if the table is wider than the page, and make header row to repeat at the top of each page if the table is longer than a page. - Column
On the Column tab, you can set the width of each column. - Cell
On the Cell tab, you can set the width of selected cells and the vertical alignment of text within them. Click the Options button on this page to set the internal margins and text wrapping of individual cells. - Alt Text
On the Alt Text tab, you can enter the alternative text that describes the table to assist people with visual impairments.
More “Working with Word Tables” Tutorials
- Insert Tables
- Insert and Delete Rows, Columns and Cells
- Wrap text around the table
- Table Borders and Shading
- Select Table, View Gridlines, Use Table Properties
- Resize tables, rows, columns, and cells
- Repeat heading rows on next pages
- Break, Split & Merge Cells, Rows, and Tables
- Set Table & Cell Alignment and Change Text Direction
- Use Formula in Tables and Paragraphs
